AquaRanked is reader-supported. When you buy through links on our site, we may earn an affiliate commission.
Cherry shrimp are one of the most reliably productive invertebrates in freshwater keeping, but there is a difference between a tank that occasionally breeds and a colony that consistently produces improving color over time. Bridging that gap is a matter of setup, stability, and intentional management — not luck.
This guide focuses specifically on breeding: setting up a colony tank optimized for reproduction, protecting shrimplets from the moment they hatch, feeding for egg production and color, and selecting for higher color grade over successive generations. For baseline care parameters and species overview, see the Neocaridina Shrimp Care Guide. This article builds on that foundation and goes deeper on production.
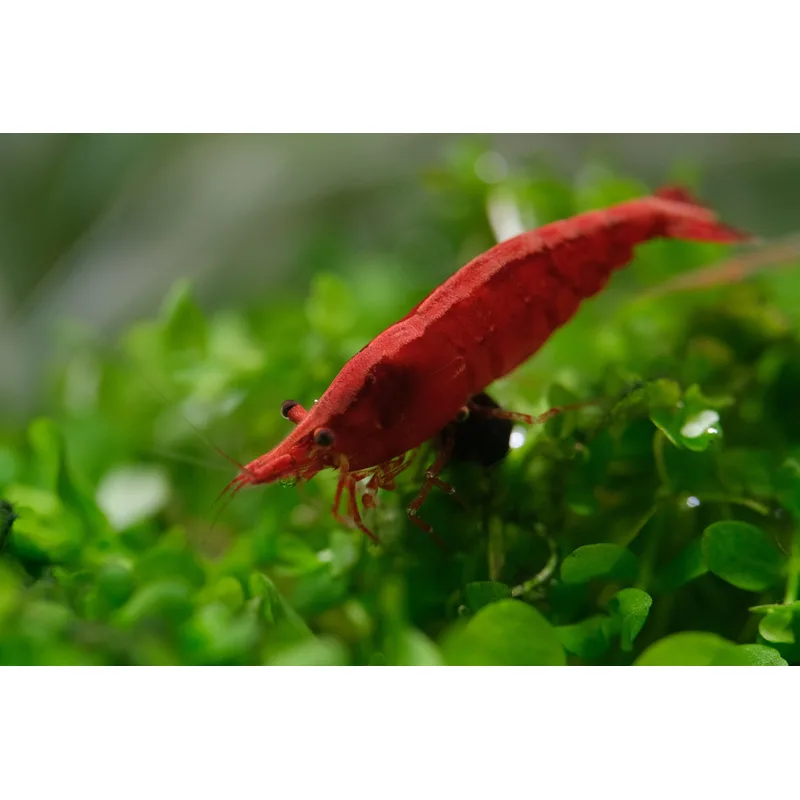
Cherry shrimp (Neocaridina davidi) breed continuously once stable conditions are established. The challenges are not usually triggering breeding — they are keeping shrimplets alive, maintaining water quality as the colony grows, and improving color grade without losing colony health through inbreeding. All three are manageable with the right approach.
Colony Tank Setup
Tank size is the first decision, and bigger is better for production. A 10-gallon tank can support a breeding colony comfortably up to around 80–100 adults before crowding slows reproduction. A 20-gallon long doubles that capacity and provides significantly more parameter stability — water volume absorbs swings that would crash a 5-gallon in hours. For serious colony work, the 20-gallon long is the practical standard.
Start with more shrimp than you think you need. Order 20–30 to ensure a balanced sex ratio and enough genetic diversity to avoid early inbreeding issues. A group of 10 shrimp could easily skew 8 females to 2 males, or the reverse — larger groups balance the odds.
Tank maturity matters more than most guides admit. A newly set up tank has no established biofilm — the thin bacterial and microfauna layer that coats every surface in a healthy system. Shrimplets spend their first two weeks grazing biofilm almost exclusively. A tank that has been running for 8–12 weeks with plants develops sufficient biofilm to support good shrimplet survival. Run the tank without shrimp for 6–8 weeks first if your setup is new.
Substrate does not need to be expensive or specialized for neocaridina. Inert black sand — including black diamond blasting sand, which costs next to nothing — works excellently. It is cheap, shows shrimp color well, and does not alter water chemistry. Active buffering substrates (aqua soils, Fluval Stratum) are designed for Caridina shrimp and can push pH lower than neocaridina prefer over time. For a full breakdown of options, the Best Shrimp Substrate guide covers every type.
Plants and hardscape are not optional for maximizing production. Shrimp that feel exposed breed less. Dense Java moss, Christmas moss, or hornwort gives shrimplets their first weeks of food and cover. Indian almond leaves and cholla wood add tannins, biofilm surface area, and hiding spots for molting shrimp. You do not need an elaborate aquascape — a pile of moss on a flat stone and a few Indian almond leaves on the substrate is enough.
Water Parameters for Maximum Output
Neocaridina tolerate a range, but they breed most consistently at specific targets. Stability matters more than hitting exact numbers — a tank sitting steadily at pH 7.5 outperforms one that swings between 6.9 and 7.6 during the week.
| Parameter | Breeding Target |
|---|---|
| Temperature | 72–76°F |
| pH | 7.0–7.6 |
| GH | 7–10 dGH |
| KH | 3–5 dKH |
| TDS | 180–260 ppm |
| Ammonia | 0 ppm |
| Nitrite | 0 ppm |
| Nitrate | <20 ppm |
Temperature directly controls breeding rate. Shrimp breed fastest at 74–76°F. Drop below 70°F and reproduction slows significantly. Push above 78°F and you stress the colony — stressed shrimp drop eggs and stop reproducing. In warm climates during summer, tank cooling becomes a real concern. A desk fan aimed at the water surface drops temperature 2–4°F through evaporation.
GH is the single most important parameter for breeding success. Calcium and magnesium — the minerals making up GH — are required for exoskeleton formation during molts and for egg development. Colonies running below 6 dGH show failed molts and empty egg sacs. If shrimp are dying mid-molt (stuck in their old shell) or dropping eggs prematurely, test GH before anything else.
Testing GH and KH
The standard API Freshwater Master Kit does not test GH or KH. For shrimp breeding, you need a dedicated hardness kit.

API GH & KH Test Kit
Best Test Kit- ✓ Tests both parameters most critical to shrimp health
- ✓ Affordable liquid test with reliable drop-count accuracy
- ✓ Results in dGH and dKH — the units shrimp keepers actually use
- ✓ Includes instructions and color comparison chart
- ✗ Does not test pH, ammonia, or nitrite — need a separate kit for those
- ✗ Color matching can be difficult under low or tinted lighting
The API GH & KH kit uses a drop-count titration method: add drops one at a time to a water sample until the color shifts, and each drop equals 1 dGH or 1 dKH. It is accurate, reliable, and inexpensive. Test your source water and tank water before every water change when establishing a new water routine. Once you have a protocol dialed in, monthly verification is enough to confirm stability.
Remineralizing RO Water
If your tap water runs below 6 dGH, is heavily softened, or you prefer the consistency of RO water as a starting point, a dedicated remineralizer is the right tool.
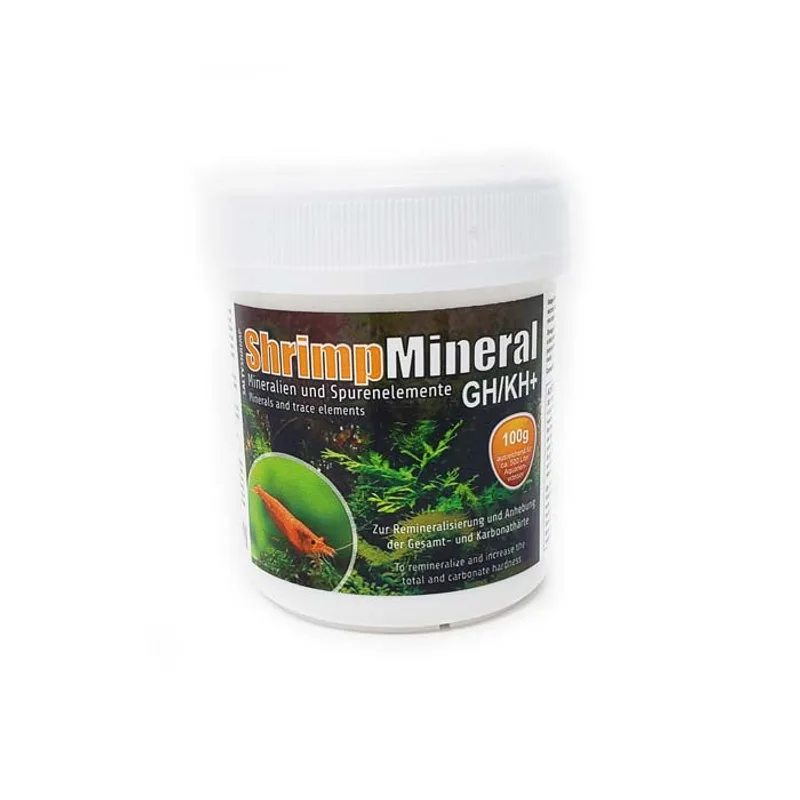
SaltyShrimp Shrimp Mineral GH/KH+
Best Remineralizer- ✓ Raises both GH and KH — the two parameters neocaridina need most
- ✓ Includes a measuring spoon for consistent dosing
- ✓ 100g covers hundreds of gallons of water changes
- ✓ Pharmaceutical-grade mineral content, made in Germany
- ✗ Unnecessary if tap water already hits 7–10 dGH naturally
- ✗ Fixed GH/KH ratio — breeders wanting separate control need two products
SaltyShrimp GH/KH+ is the industry standard for neocaridina remineralization. It raises both GH and KH simultaneously with a mineral blend formulated for shrimp — not general freshwater use. Dose into RO water in a separate bucket before water changes. Roughly 2g per 10 liters brings most RO water to a TDS of around 200–230 ppm, which falls squarely in neocaridina range. Adjust your dose until GH reads 7–9 dGH, then use that dose consistently. Always temperature-match water before adding it to the tank — cold shock during water changes is a common cause of egg dropping.
If your tap water already tests at 7–10 dGH with stable KH, skip the remineralizer and use straight tap water with a dechlorinator. Seachem Prime is shrimp-safe at the recommended dose and handles chloramine and heavy metals.
Filtration: No Compromises
This is a hard rule for breeding colonies: sponge filtration only, or HOB with a sponge pre-filter. Shrimplets hatch at 1.5–2mm. Standard HOB and canister intakes will pull them in. You will not notice until you realize the population has stopped growing despite active breeding.
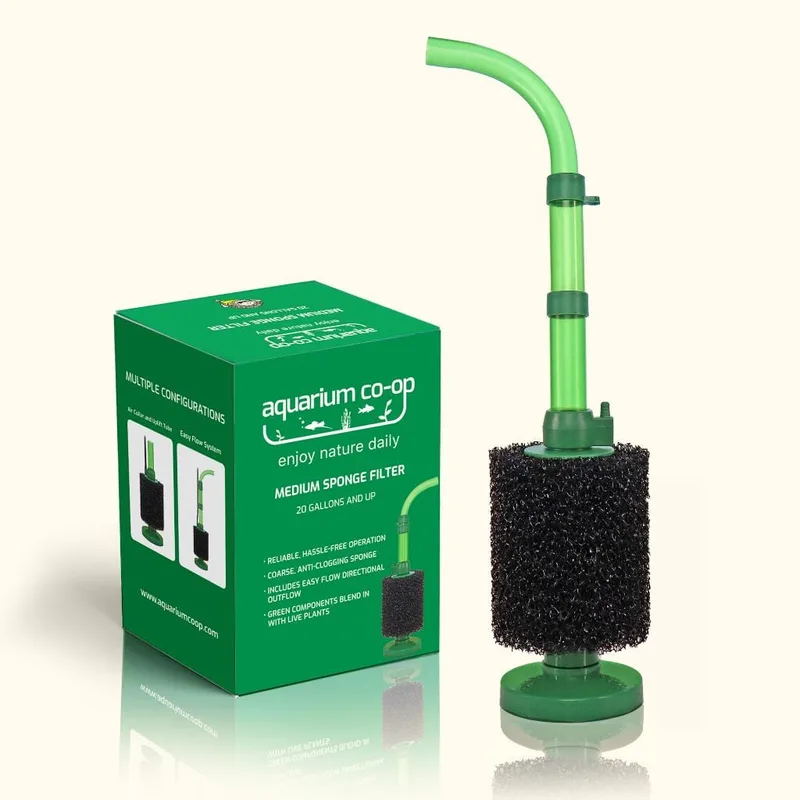
Aquarium Co-Op Sponge Filter
Best Filter- ✓ No exposed intake — completely safe for shrimplets
- ✓ Provides mechanical and biological filtration simultaneously
- ✓ Sponge surface grows biofilm shrimp actively graze on
- ✓ Easy to maintain without disrupting the bacterial colony
- ✗ Requires a separate air pump and airline tubing
- ✗ Lower flow than HOB filters — not suited for high bioloads
The Aquarium Co-Op sponge filter is the benchmark for shrimp breeding setups. No exposed intake, no impeller, no risk to shrimplets. The coarse sponge fosters strong bacterial colonization and becomes a foraging surface that shrimp and shrimplets graze continuously. Connect it to any standard air pump with airline tubing — one medium sponge covers a 10-gallon colony comfortably. For a 20-gallon, run two mediums or one large.
The sponge filter also functions as the primary biological filter for the tank. The bacterial colony lives in the sponge, not the water column — when you clean it, squeeze the sponge in old tank water (never tap) and the bacteria remain. Maintenance takes 60 seconds per water change.
For breeders running multiple tanks on a rack, sponge filters are the only economically practical choice: inexpensive to buy, cheap to replace, and zero ongoing cost. The Best Sponge Filters guide covers the full range of options if you want alternatives.
If you are running HOBs on other tank types and want to use them on a shrimp tank, fit intake sponge pre-filters over the intake tube. Without this, shrimplet survival in a HOB-filtered tank approaches zero.
Feeding for Colony Production
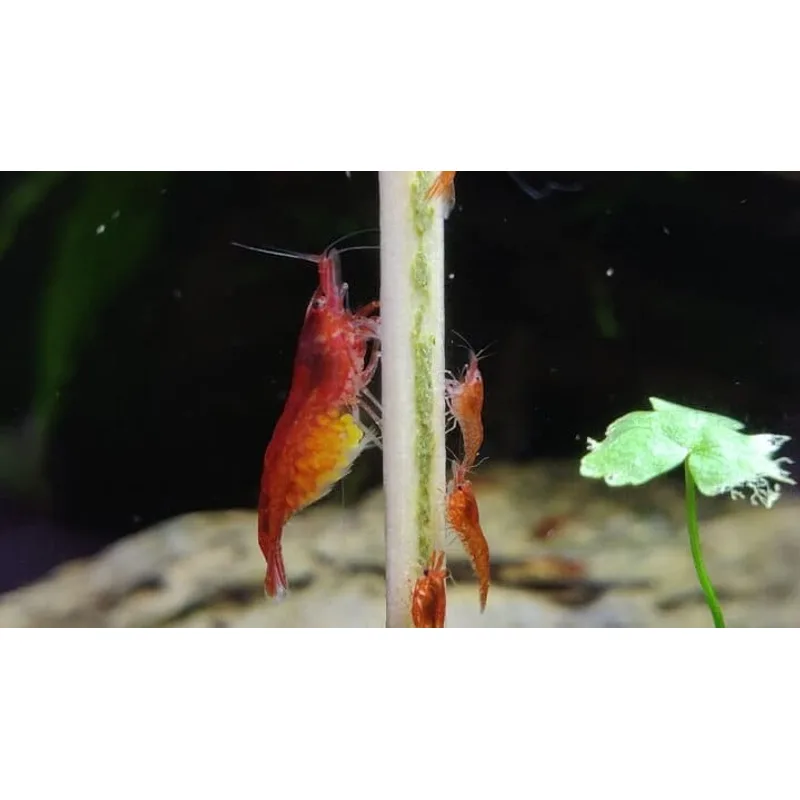
Cherry shrimp in a mature tank sustain themselves on biofilm and algae without supplemental food. But grazing alone does not maximize breeding output or color development. Targeted feeding makes a measurable difference in both.
Feeding schedule: small amounts every other day. Feed only what shrimp finish in 90 minutes. Use a turkey baster to remove uneaten food before it begins decomposing and fouling the water. Overfeeding — not underfeeding — causes most water quality crashes in shrimp tanks.
Daily Colony Staple
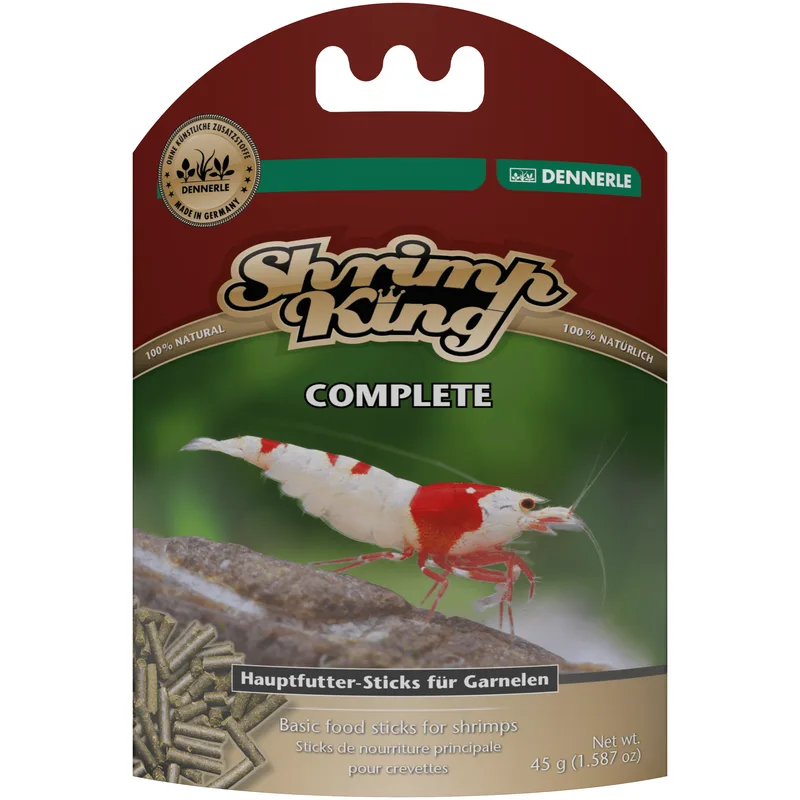
Dennerle Shrimp King Complete
Best Daily Food- ✓ Supports molting, egg production, and color simultaneously
- ✓ Sinkable sticks land on the substrate where shrimp congregate
- ✓ 100% natural ingredients with no artificial dyes or preservatives
- ✓ Water-stable formula holds together for hours without fouling
- ✗ Overfeed and it will cloud the water — remove uneaten food
- ✗ Pricier per gram than generic pellets, but the quality shows
Dennerle Shrimp King Complete is the most complete daily food for neocaridina breeding colonies. The sinkable sticks land where shrimp spend most of their time — on the substrate and hardscape — rather than floating where only surface-feeding species benefit. The formula covers the nutritional bases for a producing colony: protein for growth, dietary fiber for gut health, carotenoids for color expression, and trace minerals that support molting.
Feed one to two sticks per 10–15 adult shrimp every other day. Watch the first few feedings closely — if sticks remain after 90 minutes, reduce the amount next time. A well-fed, appropriately stocked colony cleans a feeding in 60–90 minutes.
Rotate occasionally with blanched vegetables (zucchini, cucumber, spinach), dried mulberry or oak leaves, and bee pollen for dietary variety. A colony fed one food monotonously over months shows reduced color intensity and lower breeding rates compared to colonies receiving rotated inputs.
Shrimplet-Specific Food
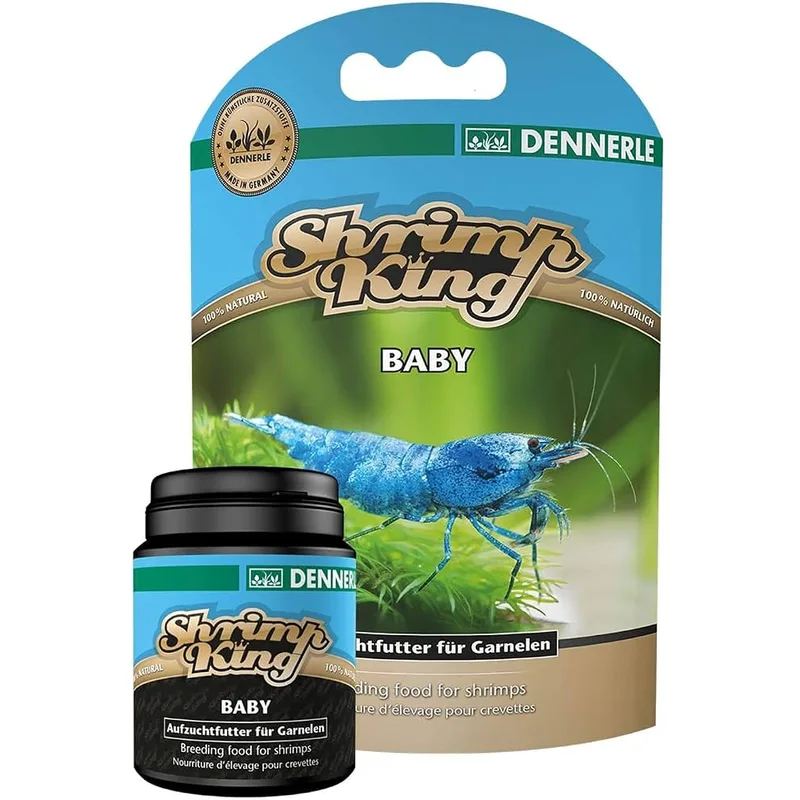
Dennerle Shrimp King Baby
Best Shrimplet Food- ✓ Micro-granule size is accessible to newly hatched shrimplets
- ✓ Natural carotenoids promote early color expression
- ✓ Water-stable — does not cloud water like powder foods
- ✓ Nutritional profile tuned for rapid juvenile growth
- ✗ Small container runs out fast in large colonies
- ✗ Not needed at adult size — requires stocking two separate foods
Standard sticks and pellets are too large for newly hatched shrimplets. In a well-established tank, biofilm covers the nutritional gap for the first one to two weeks. In a younger setup with less developed biofilm — common in tanks under six months old — shrimplet mortality in the first weeks can be significant without dedicated micro-food.
Shrimp King Baby uses a micro-granulate format fine enough for shrimplets from day one. It disperses across the substrate on contact rather than piling in one spot, giving shrimplets more even access across the tank. Start adding it when your first females become berried — timing the food to hatching helps survival in those critical first days. Continue alongside the Complete sticks until juveniles reach 5–6mm in size.
The two-food approach — Complete for adults, Baby for shrimplets — takes 30 extra seconds per feeding and produces noticeably better shrimplet survival and growth rates in tanks under a year old.
Understanding Breeding Behavior
Knowing what normal looks like helps you catch problems before they become losses.
The saddle is the first visible sign a female is approaching reproductive condition. It appears as a yellowish or greenish patch behind the head, near the base of the neck, visible through the carapace. This is an unfertilized egg cluster waiting for the female to molt into sexual readiness. When she molts, she releases pheromones into the water that trigger visible swarming: males dart rapidly across the tank, swimming in circles, searching for the freshly molted female. This behavior lasts a few hours and usually results in a berried female within 24 hours.
Berried females carry fertilized eggs clustered beneath the tail, fanning them continuously with the pleopods to maintain oxygen flow. Cherry shrimp eggs are typically orange or yellow-green at fertilization. Incubation runs 28–35 days at 74°F. Cooler temperatures extend this — at 70°F, expect 40–45 days. As hatching approaches, eggs darken from bright orange to a deeper gray-green, and you can sometimes see miniature shrimp shapes within individual eggs.
Dropped eggs are a stress indicator. Common causes include ammonia spikes, temperature swings, pH instability, a premature molt triggered by parameter fluctuation, or copper contamination. Copper is lethal to shrimp at trace levels, and females drop eggs before showing other symptoms. Check fertilizers and any medications added to the tank — many contain copper. If eggs are being dropped repeatedly, do a 25–30% water change with fully matched, conditioned water, then test ammonia, GH, and pH before adding anything else.
Shrimplet survival checklist:
- Dense moss and fine-leafed plants are the most critical factor
- Sponge filtration with no exposed intakes
- Smaller, more frequent water changes for the first four weeks after hatching (10% twice weekly rather than 20% once)
- Shrimp King Baby added to the feeding rotation
- No fish or predatory invertebrates in the tank
Color Grading Cherry Shrimp
This is where breeding becomes a long-term project. Cherry shrimp sold under the same “red cherry shrimp” label span an enormous quality range, and understanding the grading system lets you select effectively and communicate clearly with other breeders.
The Grading Scale
Wild type / Low Sakura — translucent body with patches of red. Coloration is inconsistent, especially in the legs and underside. Males show very little color.
Sakura — solid red covering most of the body, but with visible transparency remaining. The underlying body structure is visible in bright light.
Fire Red — dense, opaque red across the full body. Minimal transparency even under direct light. Legs and swimmerets show good color.
Painted Fire Red / HHBS — fully opaque red from rostrum to tail tip. No transparency visible anywhere under any lighting condition. Legs, antennae, and swimmerets are fully and deeply colored. This is the highest grade of red neocaridina.
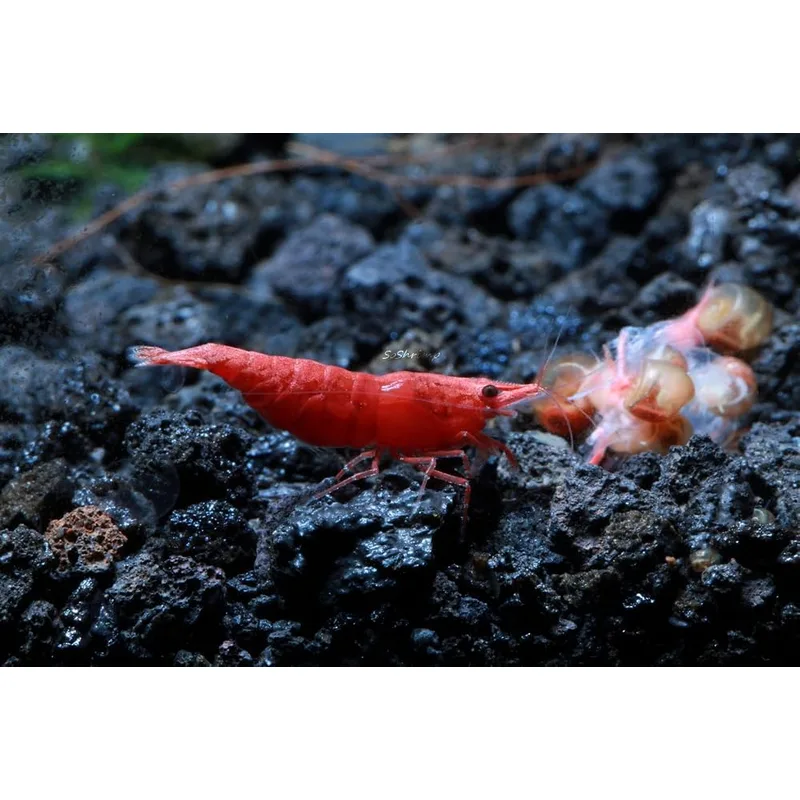
Color grading applies across the full neocaridina color spectrum — Blue Velvet, Blue Dream, Yellow Golden Back, Pumpkin, Orange Sakura, and other variants all have equivalent grading systems based on color opacity and coverage. The terminology differs by variant, but the selection mechanism is identical.
Improving Grade Over Generations
The mechanism is selection pressure applied consistently over multiple generations. It is not complicated, but it requires patience and discipline.
Selection protocol:
- Identify the highest-color females — full opacity, no transparency, color extending visibly to legs and swimmerets
- Keep those females and remove lower-grade individuals to a cull tank (sell, trade, or move them — do not discard)
- Evaluate males for color as best you can, removing clearly low-grade individuals
- Refresh genetics every 3–4 generations by adding high-grade individuals from an unrelated breeder
Culling is not optional if you want meaningful grade improvement. A single low-grade female breeding back into the primary colony sets progress back two generations. Move lower-grade shrimp rather than eliminating them — they are starter colony stock for new hobbyists and sell readily through local clubs and online groups.
Do not mix color variants. Red cherry shrimp, Blue Velvet, Yellow Golden Back, Pumpkin, and any other neocaridina color morph will interbreed freely. The result is brown or dull-colored offspring with no trade or display value within two generations. Each color variant must have its own separate tank — no exceptions.
Diet supports color expression but does not override genetics. Carotenoid-rich foods (spirulina, astaxanthin, natural-pigment foods like Shrimp King Complete) help shrimp reach the color ceiling their genetics allow. But a low-grade shrimp given the best diet available remains low-grade. Genetics determine the ceiling; nutrition determines whether shrimp reach it.
Inbreeding and population size: A colony of 20+ unrelated shrimp maintains adequate diversity for multiple generations without problems. Below 10 active breeders, inbreeding effects appear as slower growth, reduced molting success, and progressively smaller batch sizes. Adding outside genetics from a different lineage every two to three generations is the reliable long-term solution.
FAQ
How long does it take to establish a productive cherry shrimp breeding colony? From adding your first shrimp to seeing consistent, regular breeding: 8–12 weeks in a mature tank. The first generation of shrimplets takes another 8–10 weeks to reach adult size. A colony that is self-sustaining and growing predictably typically takes 4–5 months from initial setup.
Why are my cherry shrimp not breeding after 6 weeks? The two most common causes are GH below 6 dGH and temperature below 70°F — test both first. A third frequent cause is tank immaturity: new tanks without established biofilm lack the feeding and behavioral cues that mature tanks provide. If parameters are correct and the tank is over 8 weeks old, check for copper sources. Any medication not explicitly labeled safe for invertebrates should be treated as a copper risk.
How many shrimplets survive in a typical breeding? In a mature, well-planted tank with sponge filtration, 60–80% survival to juvenile size is achievable. In a new tank without biofilm, or with unprotected HOB filtration, survival can drop below 20%. Plants, established biofilm, sponge filtration, and dedicated micro-food are the four variables with the most direct impact on shrimplet survival.
Can I breed different neocaridina color variants together? No. All neocaridina color variants — red cherry, Blue Velvet, Yellow Golden Back, Pumpkin, and others — are the same species and interbreed without hesitation. Mixing variants produces wild-type brown offspring within two generations. Each color variant needs a completely separate tank to maintain.
How do I identify male versus female cherry shrimp? Females are larger, more colorful, and have a curved underside (broad pleopods used for carrying eggs). Males are slimmer, smaller, and typically less intensely colored. In high-grade Fire Red or Painted Fire Red stock, females are dramatically more colorful than males. Females develop a visible saddle — a yellowish patch near the neck region — before their first breeding molt, which is the most reliable identification marker.
What is the fastest way to improve cherry shrimp color grade? Sourcing high-grade stock from the start is faster than grading up from low-quality shrimp over many generations. Starting with Fire Red or Painted Fire Red shrimp and applying consistent selection pressure maintains and refines grade. If starting with Sakura-grade stock and targeting Painted Fire Red, plan for 6–8 generations of strict culling — roughly 18–24 months. Adding high-grade imports from a different lineage every few generations accelerates the timeline.
Are cherry shrimp sensitive to medications or fertilizers? Yes. Copper is acutely toxic to cherry shrimp at trace levels — levels safe for fish will kill shrimp. Most anti-parasitic medications (fenbendazole, levamisole) are lethal to shrimp at fish-safe doses. Many liquid fertilizers contain copper. Any treatment not explicitly labeled safe for invertebrates should be considered dangerous in a shrimp tank. Run a shrimp-only setup to eliminate the temptation to medicate the display tank.
Conclusion
A productive cherry shrimp breeding colony comes down to four essentials: safe filtration, stable neocaridina-range water chemistry, targeted feeding, and intentional selection. Get those four right, and cherry shrimp manage the rest.
Start with the Aquarium Co-Op sponge filter and do not compromise on this — HOB filtration without a pre-filter systematically kills shrimplets. Dial in your GH and KH with the SaltyShrimp GH/KH+ if your water needs it, and verify your numbers with the API GH & KH test kit before every water change when establishing a new remineralizer routine. Feed Shrimp King Complete as your daily staple and add Shrimp King Baby every time you see berried females to support the hatching wave.
For color improvement, consistent selection pressure over multiple generations is the mechanism. It is a slow process — expect 6 months to a year to see meaningful grade improvement from Sakura to Fire Red — but the results compound over time. A year of disciplined selection produces a colony that looks substantially different from the one you started with.
Our Top Pick