Acclimation is the process of gradually adjusting new fish or shrimp to your tank water conditions. Skip it and you risk pH shock, temperature shock, osmotic stress, and potentially immediate death — especially with sensitive species like caridina shrimp or wild-caught fish.
The core principle is simple: animals that have been sitting in shipping water for hours or days have adapted to whatever chemistry that water has developed (often acidic from CO2 buildup, with elevated ammonia). Dumping them directly into your tank exposes them to sudden changes in pH, temperature, GH, KH, and other parameters simultaneously.
Proper acclimation introduces your tank’s water chemistry gradually, giving the fish time to adjust without shock.
The Three Methods
1. Float Method (Temperature Only)
What it does: Equalizes temperature between the shipping bag and your tank.
Process:
- Float the sealed bag on your tank surface for 15-20 minutes
- Open the bag and add a small cup of tank water
- Wait 5 minutes, add another cup
- Repeat 3-4 times over 20-30 minutes
- Net the fish and place in the tank. Discard the bag water.
Pros: Simple, requires no equipment, works for most hardy tropical fish.
Cons: Does not provide slow, controlled chemistry adaptation. The water additions are in large increments rather than a gradual drip.
Best for: Hardy community fish from a local store (guppies, platies, tetras, corydoras) where shipping time was short and water chemistry is likely similar to yours.
2. Drip Method (Full Chemistry Acclimation)
What it does: Gradually introduces your tank water to the shipping water at a slow, controlled rate over 1-2 hours.
Process:
- Empty the bag contents (fish + water) into a clean bucket or container
- Run a length of airline tubing from your tank to the bucket
- Start a siphon and tie a loose knot in the tubing to reduce flow to 2-4 drops per second
- Let the drip run until the water volume in the bucket has at least doubled (typically 45-90 minutes)
- Net the fish and place in the tank. Discard the bucket water.
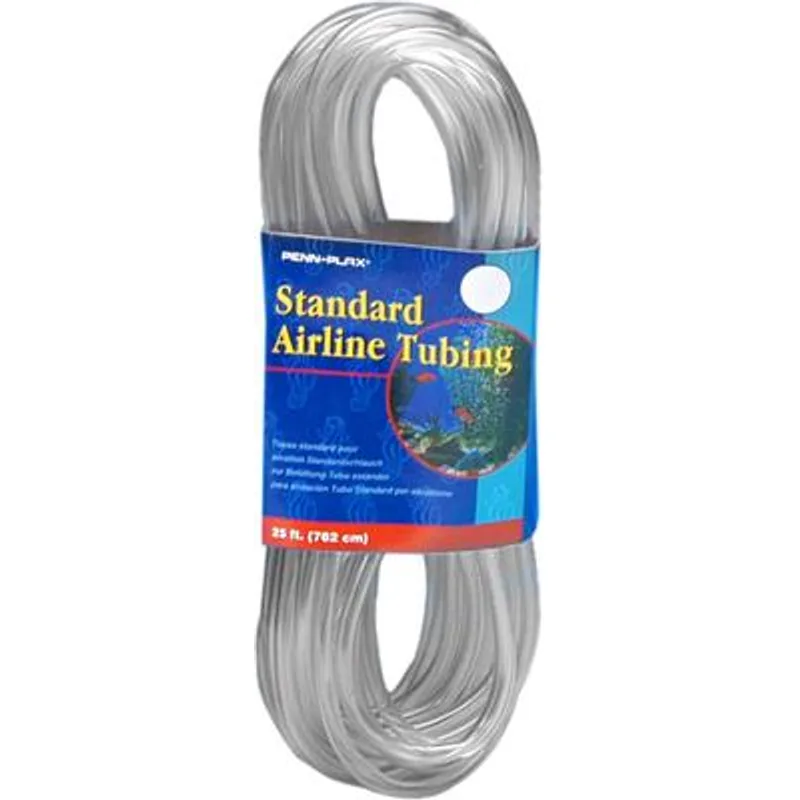
Penn-Plax Airline Tubing 25ft
Best for Drip Acclimation- ✓ Inexpensive and widely available
- ✓ Easily knotted to control drip rate
- ✓ 25-foot length allows positioning flexibility
- ✗ Clear tubing can kink if bent too sharply
- ✗ No control valve included — must tie a knot
Pros: Provides the most gradual chemistry transition. Minimizes shock from pH, GH, KH, and TDS differences. Gold standard for sensitive species.
Cons: Takes 1-2 hours. Requires setup (tubing, bucket, siphon). Fish sit in a bucket in the open, which can be stressful.
Best for: Shrimp (all species), wild-caught fish, fish shipped long distances, and any species sensitive to water chemistry changes. This is the mandatory method for caridina shrimp.
3. Plop-and-Drop Method (No Acclimation)
What it does: Moves fish directly from shipping water to your tank with no transition period.
Process:
- Open the bag
- Net the fish
- Place directly into the tank
Pros: Fast. Minimizes time fish spend in deteriorating shipping water (high ammonia, low oxygen, low pH). Some breeders and importers argue this reduces total stress compared to prolonged acclimation in toxic water.
Cons: Maximum shock potential if parameters differ significantly. Not appropriate for sensitive species.
Best for: Situations where shipping water quality is extremely poor (extended shipping delays, visibly polluted water) and the priority is getting fish into clean water as fast as possible. Some experienced breeders use this for hardy livebearers shipped overnight.
Which Method for Which Species
| Species | Recommended Method | Notes |
|---|---|---|
| Neocaridina shrimp | Drip (1-2 hours) | Essential — shrimp are sensitive to chemistry changes |
| Caridina shrimp | Drip (2+ hours) | Non-negotiable — slow and careful |
| Guppies/Endlers | Float or Drip (30-60 min) | Hardy but benefit from gradual acclimation |
| Tetras | Float or Drip (45-60 min) | Moderate sensitivity |
| Corydoras | Drip (45-60 min) | Sensitive to pH swings |
| Bettas | Float (30 min) | Hardy — temperature matching is most important |
| Plecos | Drip (60 min) | Some species are pH-sensitive |
| Wild-caught fish | Drip (90-120 min) | Always drip — wild fish are not adapted to captive conditions |
| Medaka ricefish | Float or Drip (30-60 min) | Hardy — adapt quickly |
| African cichlids | Float (20-30 min) | Very hardy — temperature matching sufficient |
Step-by-Step Drip Acclimation
This is the method you should default to for any new arrivals. It takes longer but covers all scenarios safely.
Equipment Needed
- A clean bucket or container (2-5 gallon size)
- Standard airline tubing (3-5 feet)
- A clip or clothespin to secure tubing to tank rim
- A net for transferring fish
Detailed Process
Step 1: Float the sealed bag for 10-15 minutes to equalize temperature. This prevents a temperature differential from compounding the chemistry change.
Step 2: Open the bag and gently pour the fish and water into the bucket. If the volume is very small (less than 1 cup), add enough of your tank water to cover the fish comfortably.
Step 3: Secure one end of the airline tubing in your tank (use a clip on the rim to keep it from falling out). The other end goes in the bucket, positioned below the tank water level.
Step 4: Start a siphon by sucking briefly on the bucket end (or submerging the full tube, capping both ends, and lowering the bucket end). Once water flows, tie a loose knot in the tubing to reduce flow to 2-4 drops per second.
Step 5: Monitor the drip rate for the first few minutes. Adjust the knot tighter (slower drip) or looser (faster drip) as needed. For shrimp, aim for 2 drops per second. For hardy fish, 4 drops per second is fine.
Step 6: Let the drip continue until the water volume in the bucket has doubled or tripled (60-120 minutes depending on drip rate and starting volume).
Step 7: Net the fish/shrimp and gently place them in your tank. Do not dump the bucket water into your tank — it contains concentrated shipping water waste products.
Step 8: Turn off the tank light for the rest of the day. Newly introduced fish are stressed and benefit from reduced stimulus.
Common Mistakes
Adding Bag Water to Your Tank
Never pour shipping bag water into your aquarium. It contains concentrated ammonia, potential parasites, and bacteria from the fish store or shipper’s system. Always net the fish and discard the bag/bucket water.
Acclimating in Bright Light
New arrivals are already stressed. Performing acclimation under bright aquarium lights or room lights adds visual stress. Dim the lights during acclimation and for several hours after introduction.
Rushing the Process for Shrimp
Shrimp die from acclimation shock more than almost any other cause. If you spent $40 on a batch of crystal shrimp, the extra hour of drip acclimation is worth every minute. Do not cut corners with invertebrates.
Acclimating Too Long in Toxic Water
If shipping water is visibly foul (dark brown, strong ammonia smell, dead fish in the bag), prolonged acclimation means prolonged exposure to toxic conditions. In these cases, a shorter acclimation (30 minutes) or even plop-and-drop may be less harmful than 2 hours of drip in poisonous water.
Feeding Immediately After Introduction
New fish should not be fed for 12-24 hours after introduction. Their digestive systems are stressed, and uneaten food will further deteriorate their immediate environment. Wait until the next day.
Post-Acclimation Care
First 48 Hours
- Keep lights dimmed or off
- Do not feed for 12-24 hours
- Observe for signs of stress (rapid breathing, hiding, clamped fins)
- Check water parameters — the addition of new fish can cause temporary ammonia elevation
First Week
- Feed lightly
- Monitor for disease symptoms (ich commonly appears 3-7 days after introduction due to transport stress)
- Test water every other day
- Avoid any tank maintenance that could add stress (water changes can wait a few days unless parameters are dangerous)
Quarantine Consideration
Ideally, new fish go into a separate quarantine tank for 2-3 weeks before joining your display tank. This prevents introducing diseases, parasites, or hitchhikers to your established population. A simple 10-gallon tank with a sponge filter and heater is sufficient for quarantine.
Frequently Asked Questions
Can I acclimate fish and shrimp in the same bucket?
No. Fish produce ammonia and their presence stresses shrimp. Acclimate them separately and add shrimp to the tank after fish have settled.
How do I know if acclimation failed?
Signs of shock after introduction include: lying on the side, rapid or labored breathing, immediate loss of color, erratic swimming, or death within 24 hours. Not all deaths are acclimation-related, but sudden loss within hours usually indicates shock.
Should I match pH before adding fish?
Matching pH is less important than preventing rapid pH changes. The drip method gradually adjusts the fish to your tank’s pH over time. Do not add pH-adjusting chemicals to the bucket — just let the drip do its work.
Is it bad to acclimate for too long?
For healthy shipping water, longer acclimation (up to 2-3 hours) is not harmful. For poor-quality shipping water (high ammonia), extended acclimation means extended ammonia exposure. Use judgment — if the water smells like ammonia, shorten the process.
Do I need to acclimate fish from a local store?
If the store’s water parameters are similar to yours (same municipal water source), a quick float for temperature matching is sufficient for hardy species. If parameters differ significantly (store uses RO water, you use tap), do a drip acclimation.